How to Make Tai Tow Choi (Preserved Kohlrabi) + 2 Bonus Recipes
Foodstuff is a freelance food writer who has been exploring the art of fermentation. Traditional Chinese preserves is her latest project.
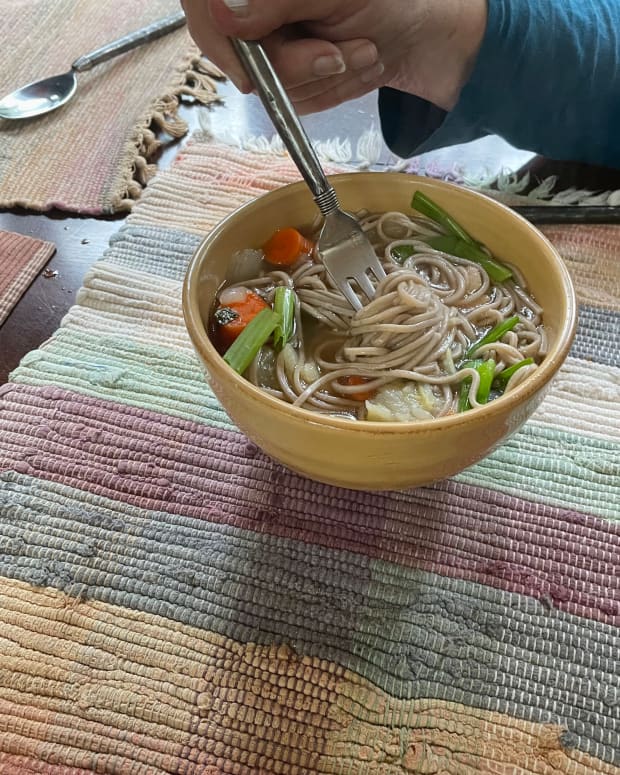
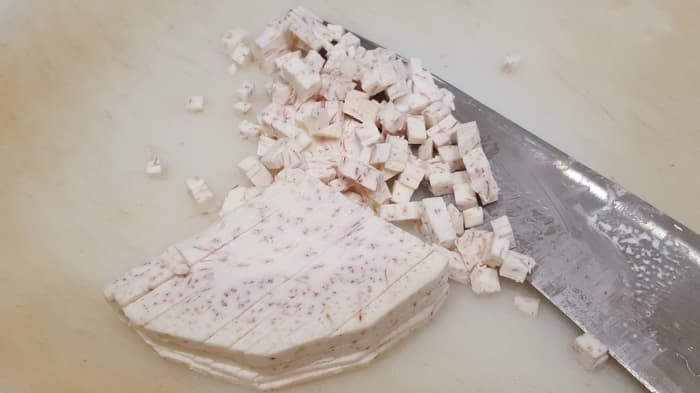
Chopped tai tow choi (preserved kohlrabi)
Siu Ling Hui
What Is Tai Tow Choi?
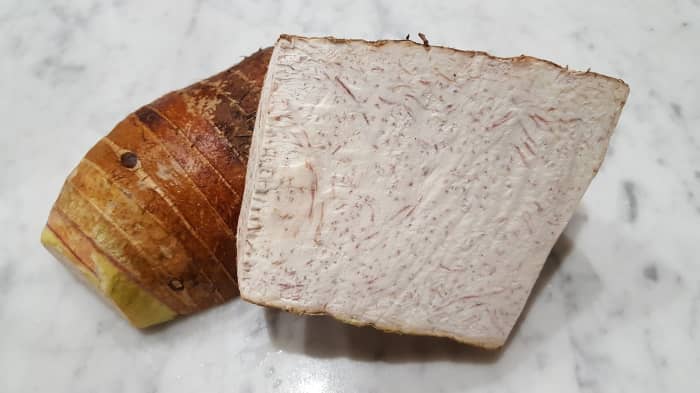
Tai tow choi is preserved kohlrabi. Delicately sweet with a delightfully juicy crunch, it is great in stir-fries and savoury dishes like steamed yam cakes (wu tow guo).
The name tai tow choi comes from the Cantonese for “big head vegetable," which is a perfect description of kohlrabi.
Tai tow choi is often translated as preserved turnip—but this is incorrect. While kohlrabi and turnips are kissing cousins in the broader family Brassicaceae, they could not be more different. Kohlrabi is the stem of the vegetable Brassica oleracea var. gongylodes; whereas turnip is the root vegetable Brassica rapa subsp. rapa.
Chinese cuisine makes frequent use of preserved foods. In addition to tai tow choi, Chinese cooks often use choi poh (preserved radish) and toong choi (preserved Tientsin cabbage).
In This Article
- How to Make Tai Tow Choi (Preserved Kohlrabi)
- Recipe: Mixed Stir-Fry With Tai Tow Choi
- Recipe: Wu Tow Guo (Yam Cake)
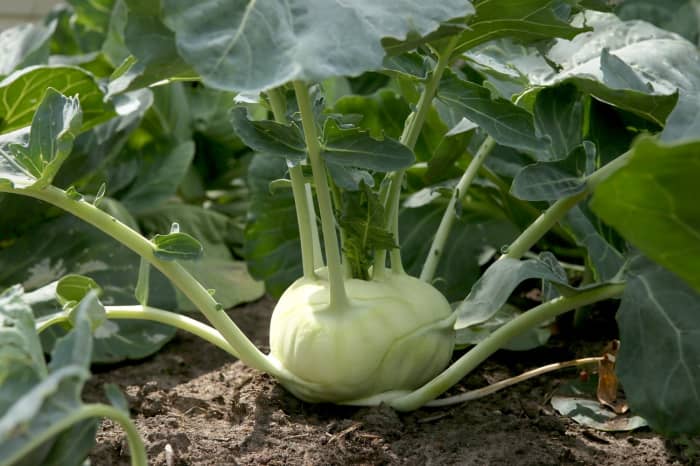
Kohlrabi growing in a garden. The bulbous stem is used to make tai tow choi.
Vaitekune; Deposit Photos 202735976
How to Make Tai Tow Choi
Making tai tow choi is very easy—all you need is salt and time!
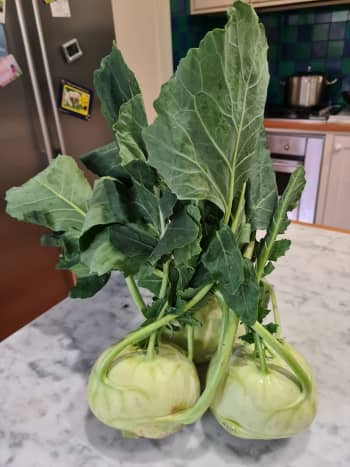
Choose a kohlrabi that is nice and firm with healthy dark green leaves. The leaves are edible and can be preserved with the bulbous stem. Discard any leaves that are wilted or yellowing.


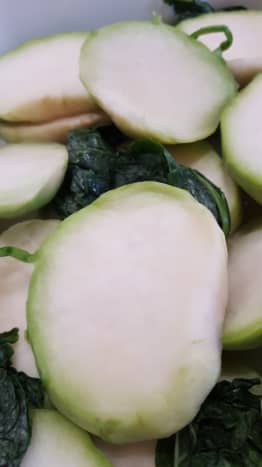
Step 1: Slice and Salt the Kohlrabi
- Cut the kohlrabi into thick slices (about 2 cm thick) with some of the leaves attached. Thick slices provide more flexibility: you can cut them into a large dice for stir-fries or a fine dice to use as a seasoning.
- Spread a generous amount of salt as evenly as possible over the slices and leaves. I use grey sea salt for this initial salting.
- Set aside for 48 hours. After this period, there will be a lot of liquid in the container. There will also be a slight “whiffy” smell. That’s a good sign—it means fermentation is starting to kick in.
What Does Salting Do?
The aim of this initial salting step is to draw the water out of the kohlrabi. As these are thick-cut slices, this initial salting should last for around 48 hours.


Step 2: Rinse, Dry, and Salt Again
- After 48 hours, rinse the kohlrabi to wash off the first application of salt.
- Pat-dry to prepare for the second and final salting.
- Rub a generous amount of sea salt over all the kohlrabi slices (and attached leaves, if any). You can use either coarse or fine salt. I’ve done it both ways and have found it better to use fine salt for this step.
- Rinse and wring out a tea towel (or muslin or Chux cloth). Stack the salted slices onto the tea towel and wrap the towel around it tightly to form a "brick." Put the brick onto a rack and weight it down with a heavy object (see photo below).

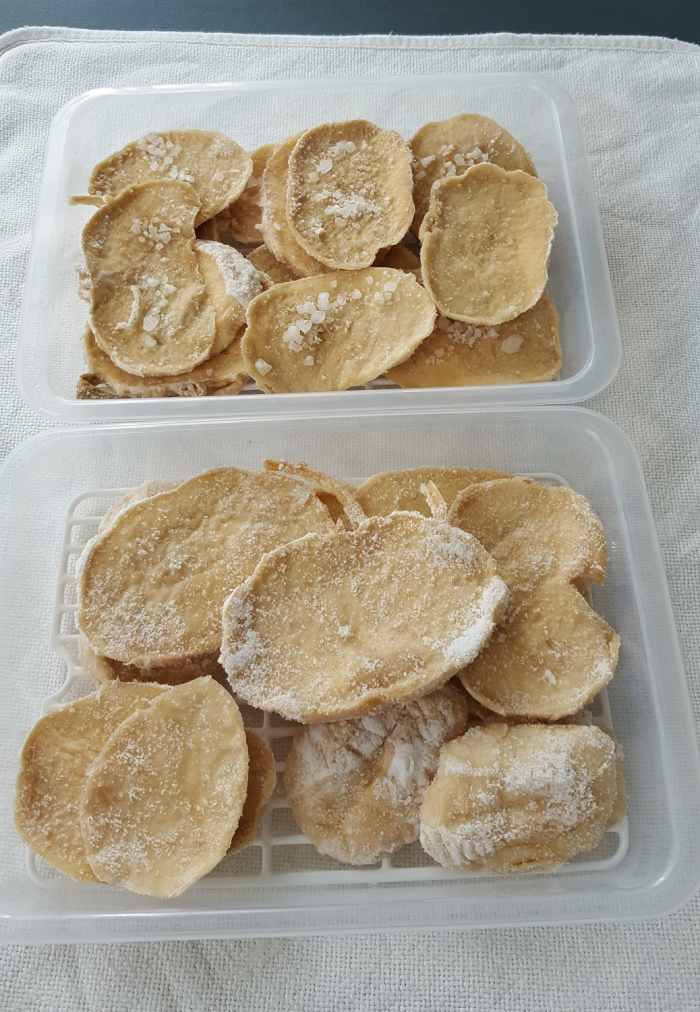
Tai tow choi after nine weeks of fermentation. It probably needs another four weeks to fully ferment before we begin the drying process.
Siu Ling Hui
Step 3: Allow It to Ferment
At this point we've reached the waiting game.
- Leave the wrapped and weighted kohlrabi slices in an airy place to ferment. The fermentation process will take at least three months and could be as long as six months, depending on the ambient conditions. There will be a pleasant “whiffy” scent coming from the kohlrabi during this time.
- Do the occasional check. It will progressively turn a creamy yellow colour. You want to wait until all of the slices have fully turned this colour.
Dried slices of tai tow choi, ready for use
Siu Ling Hui
Step 4: Dry the Slices
- When all the slices are evenly yellow in colour, take the slices out of the tea towel wrapper and leave to dry out completely on a rack at room temperature.
- Dehydrator option: You could also finish off the drying in a dehydrator if you live in a humid climate. I haven’t found the need to do this as Melbourne has low humidity. You don’t want the slices to be dried to a crisp; they should still be pliable.
- Store in an airtight container (or vacuum pack them) in a cool place. They will keep almost indefinitely . . . although that's not likely to happen as I'm sure you'll find yourself using them up very quickly with just the two following recipes!
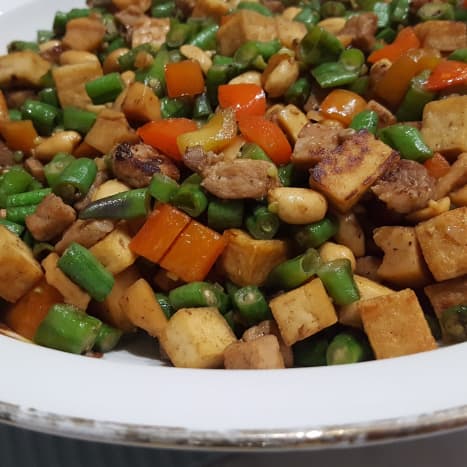


Recipe #1: Mixed Stir-Fry With Tai Tow Choi
Ok, I admit that "mixed stir-fry with tai tow choi" isn't a particularly inspired name. My personal nickname for this dish is “crunchy chop-chop”. This dish is absolute classic comfort food. Its beauty lies in the symphony of crunchy textures and flavours of the various ingredients.
The only time-consuming part of this dish is cutting up the ingredients into 0.5- to 0.75-centimeter cubes. Try to have roughly the same amount of each ingredient to keep the flavours and textures balanced.
Snake beans are an essential component of this dish because of their dry crunchy texture. If you can’t find them, you can substitute green beans—but it won’t be quite the same.
You can omit the pork if you want a vegetarian version.
Ingredients
- ~120 grams pork, preferably belly pork
- 18 to 20 snake beans
- 1/2 large red capsicum
- ~120 grams firm tofu
- ~200 grams tai tow choi
- Dash light soy sauce + more for seasoning
- Dash sesame oil + more for seasoning
- Dash oyster sauce + more for seasoning
- Dash sugar
- 1 teaspoon tapioca flour
- Oil for frying
- 1 clove garlic, finely chopped
- Ground white pepper, to taste
- ~120 grams roasted peanuts
Method
- Cut the pork, snake beans, capsicum, tofu and tai tow choi into 0.5- to 0.75-centimeter cubes.
- Season the pork with a dash each of light soy sauce, sesame oil, oyster sauce, and sugar. Add a teaspoon of tapioca flour and mix well.
- Heat a wok over moderate heat. Add a few tablespoons of oil. When hot, fry the bean curd cubes until golden brown. Remove from the wok and drain on paper towels.
- Meanwhile, remove any excess oil from the wok. When very hot, add the pork and fry briefly until it starts to colour. Add the chopped garlic, fry for a few minutes.
- Then add the tai tow choi and fry for 2 to 3 minutes.
- Add the capsicum and snake beans. Keep frying until the snake beans are cooked. It will not take long.
- Add a tiny splash of water to the wok, then season with a bit of salt, soy sauce, oyster sauce, and ground white pepper to taste. The ingredients should only be lightly coated with seasonings; there should not be a “sauce” per se.
- Add the fried bean curd cubes and roasted peanuts to the wok. Stir the to combine evenly.
- Serve hot with steamed rice or congee.


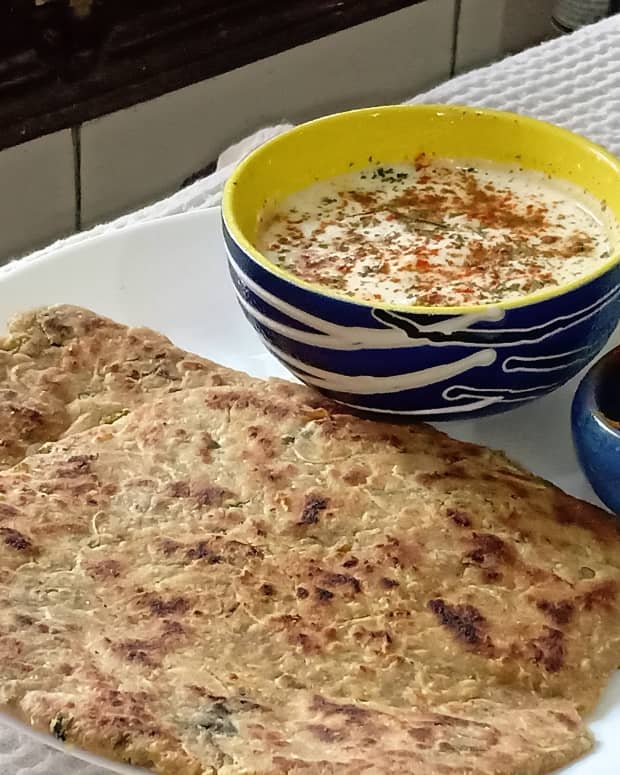
Recipe #2: Wu Tow Guo (Yam Cake)
Yam cake is a savoury dish consisting of seasoned yam that has been "set” in a rice flour batter. The cake is eaten steamed or pan-fried, accompanied by a garlicky chilli sauce.
Usually served as a snack or light meal, the particular flavouring ingredients will vary from family to family. It’s also a common street food in Southeast Asia. However, the commercial versions tend to be somewhat light on flavouring ingredients—and in some cases they're even short on the yam itself!
The following recipe is my mother’s version, which she describes as being a heong har (country bumpkin) style. But it’s absolutely delicious, and the addition of tai tow choi adds a lovely umami flavour to the cake.
The rice batter is made with a damp rice flour paste that must be prepared a day in advance. The cooking of the rice flour batter is the key to achieving a well-set cake that cuts cleanly. Inadequate cooking will result in a tacky interior in the cake, regardless of how long you steam it for.
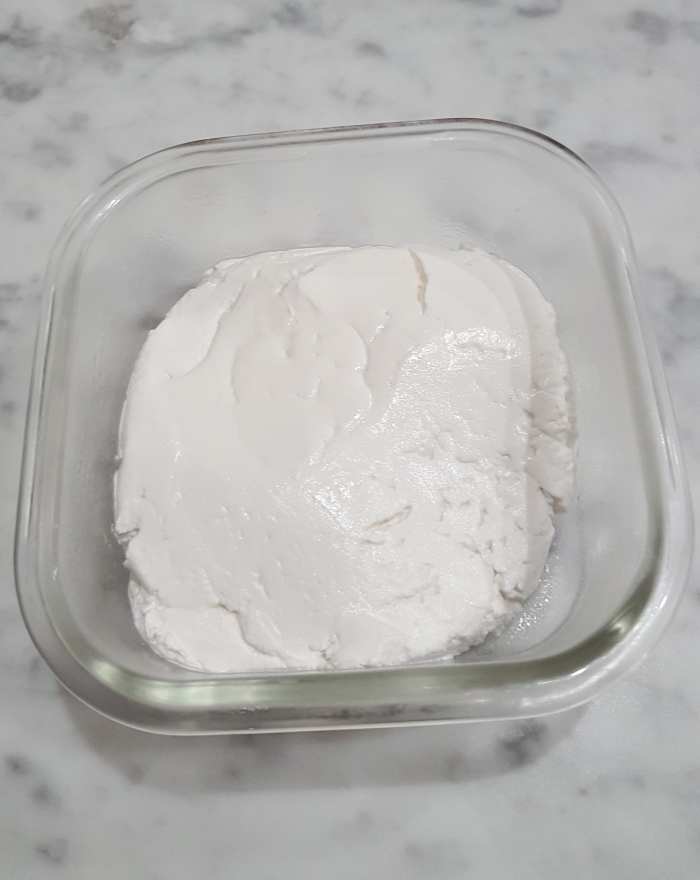
Damp rice flour
Siu Ling Hui
Step 1: Prepare the Rice Flour
Ingredients
- 150 grams rice flour (my preferred brand is the Thai 3-Elephant brand)
- 110 grams water
Method
- Sift the rice flour into a bowl.
- Slowly work in the water until you achieve a smooth but stiff chalky paste. It will be very stiff but do not be tempted to add more water!
- Pack it down tightly into an airtight container and leave it overnight in the refrigerator.


Step 2: Prepare for Cooking
Ingredients
- ~550 to 600 grams yam
- 90 grams Asian shallots
- 2 cloves garlic
- 150 to 160 grams pork, preferably pork belly
- Dash light soy sauce
- Dash oyster sauce
- Dash ground white pepper
- Dash sesame oil
- 30 grams dried shrimp, soaked in hot water
- 50 grams tai tow choi, rinsed and soaked in hot water
- 260 grams damp rice flour (from step 1 above)
- 15 grams tapioca flour
- 1 teaspoon salt
- 270 grams cold water
- 340 grams boiling water
- Lard or oil for frying
Method
- Peel and dice yam into 1-centimeter cubes. Set aside.
- Peel and finely chop the Asian shallots and garlic. Set aside.
- Dice the pork belly into small cubes. Marinate with a little bit of light soy sauce, oyster sauce, ground white pepper, and sesame oil. Set aside.
- Drain the dried shrimp, reserving the soaking water to be used to make up the 270 grams water for making the batter. Chop the shrimp and set aside.
- Drain the soaked tai tow choi. Dice into small cubes and set aside.
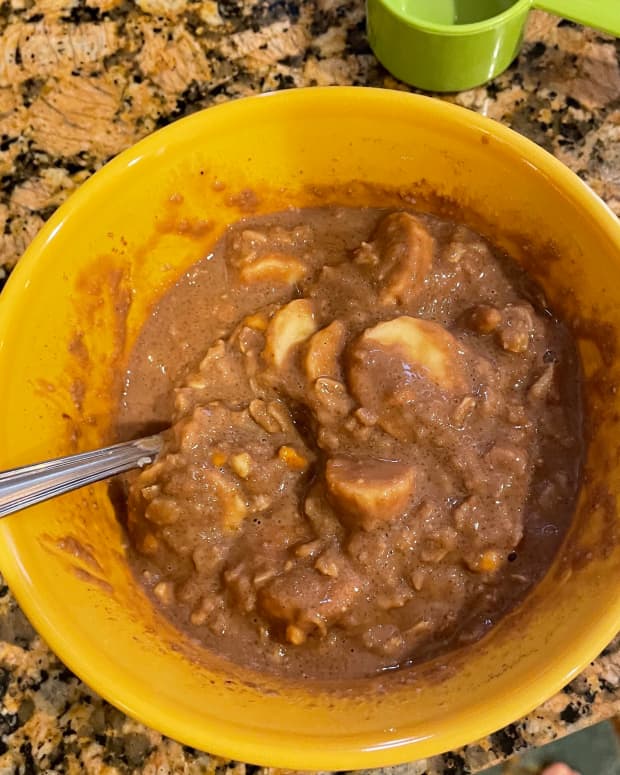
- Make the rice flour batter: Place the damp rice flour (from step 1) into a large bowl. Break it up and mix in tapioca flour and salt. Gradually add the 270 grams cold water, stirring all the time with a whisk to create a smooth batter. Set aside.


Step 3: Fry the Wu Tow Guo
- Heat a large pan over moderate heat. Add lard or oil.
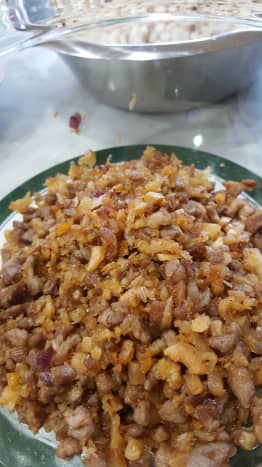
- When the pan is smoking hot, add the pork and fry until it starts to brown.
- Add the minced shallots and garlic and continue to fry. Then add the shrimp and tai tow choi. Continue to fry for 2-3 minutes. Season with salt and ground white pepper to taste.
- Remove pan from heat. Transfer the fried ingredients to a large bowl.
- Return the pan to heat. Add more lard or oil and add the diced yam. Fry until most of the yam cubes change colour from white to an off-white/light grey shade. The yam cubes will only be partially cooked; the cooking will be completed during the steaming step.
- Remove pan from heat. Transfer the fried yam to the bowl with the other fried ingredients and mix well. Check the seasoning and adjust as necessary.
- Finalise the batter by stirring the rice flour batter and whisking in the 340 grams of boiling hot water.
- Return pan to low to moderate heat. Add the batter to the pan and cook, stirring continuously. Cook until the batter turns into a thick creamy paste.
- Remove pan from heat. Add the yam mixture to the paste in the pan. Mix well to ensure the yam mixture is evenly coated with the paste.


Step 4: Steam the Wu Tow Guo
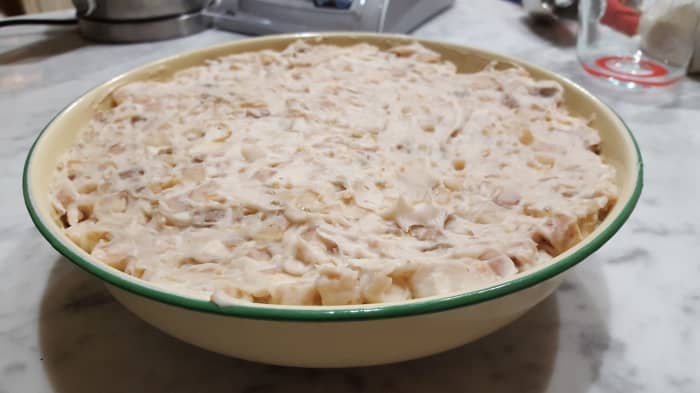
- Oil a deep 26-cm heat-proof plate. (I like using old-fashioned enamel plates for this. However, you can use a pie dish or even a loaf tin if you prefer a rectangular cake.)
- Spread the yam mixture evenly on the plate, smoothing the surface.
- Fill a steamer with water and bring the water to a steady boil. Place the dish in a steamer and steam for about 50 to 60 minutes, or until a skewer inserted at an angle comes out clean.
- Remove the yam cake from the steamer. Allow it to cool on a rack before cutting. Do not slice it straight out of the steamer; the interior still needs time to be completely set.
Wu Tow Guo Serving Suggestions
- Temperature: This dish is best eaten hot or warm.
- Steamed cake: If you are eating it as a steamed cake, it can be served immediately on the same day that it is made.
- Pan-fried slices: If you would like to serve it as pan-fried slices, you must first refrigerate the steamed cake overnight, covered tightly with cling film. The next day, slice and then pan-fry it. Personally, I like my wu tow guo pan-fried so that it has a crisp exterior that contrasts with the soft interior.
- Storage: The cake can be kept for up to a week in an airtight container in the refrigerator.
- Reheating: Reheat it by steaming the required portion for around 10 minutes.
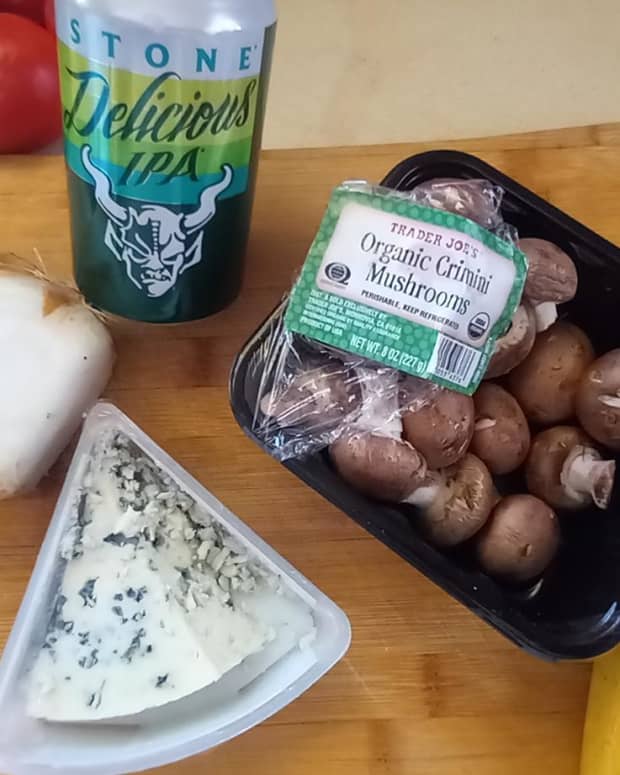
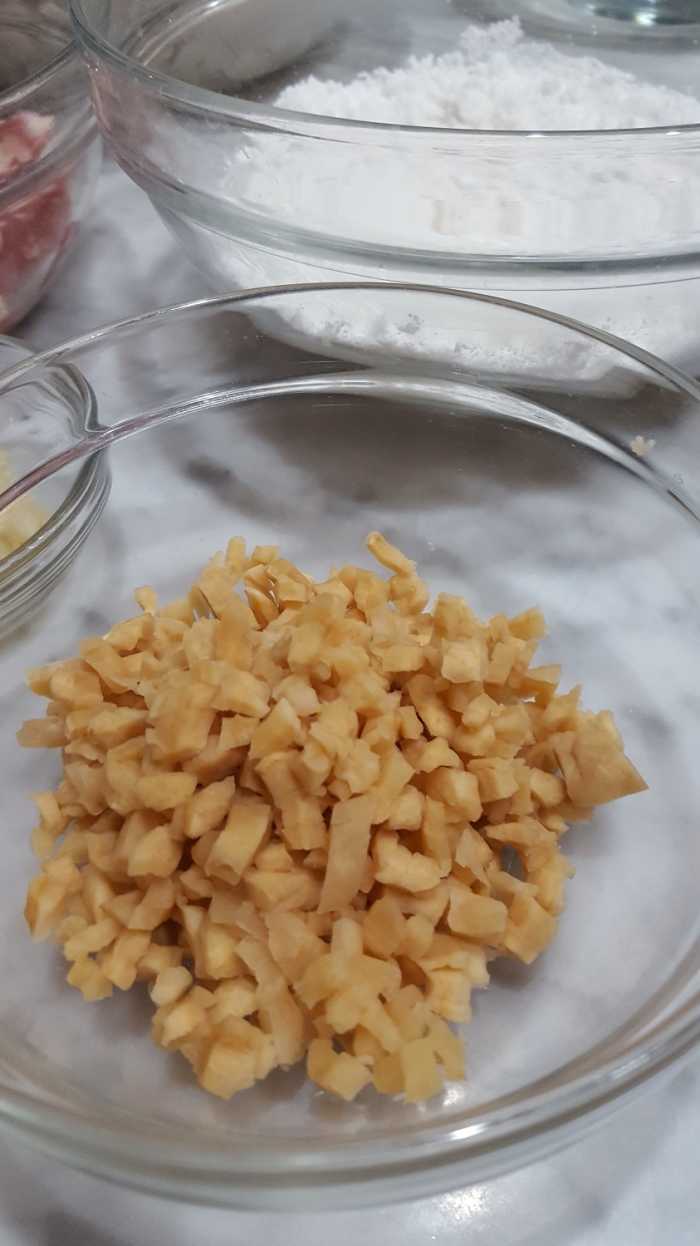
Wu Tow Guo: Ingredient Photos