Hummus With Caramelised Onion Recipe
I used to help in our family restaurant, love good food and enjoy thinking up creative ways to cook and use leftovers to avoid food waste.
Quick and Easy Hummus Recipe
Hummus (also spelled houmos) is a nourishing and traditional vegetable dip or side dish which originated in the Middle East, though its popularity has spread well beyond that area. In London, where I live, it is now so commonplace that virtually all supermarkets stock it, usually in several varieties.
The main ingredients are crushed chickpeas (also known as garbanzo beans) and tahini (crushed sesame seeds). It is usually accompanied by pitta bread or vegetable sticks such as sliced carrot.
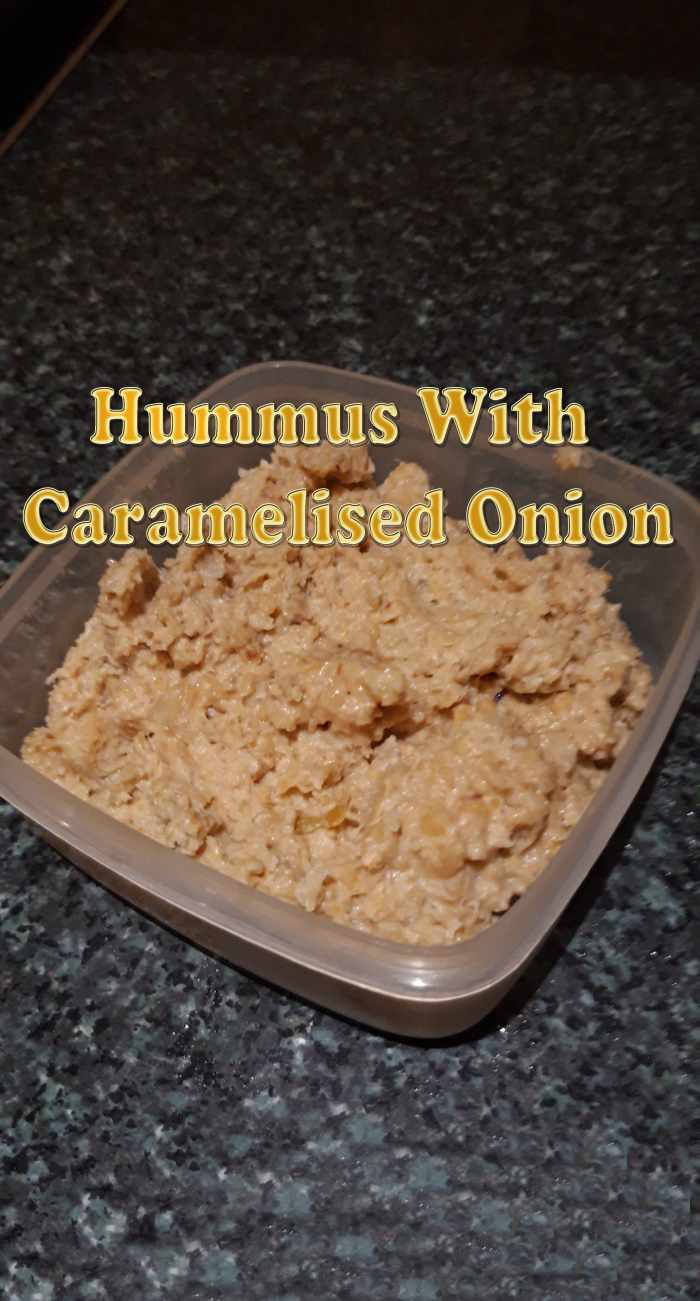
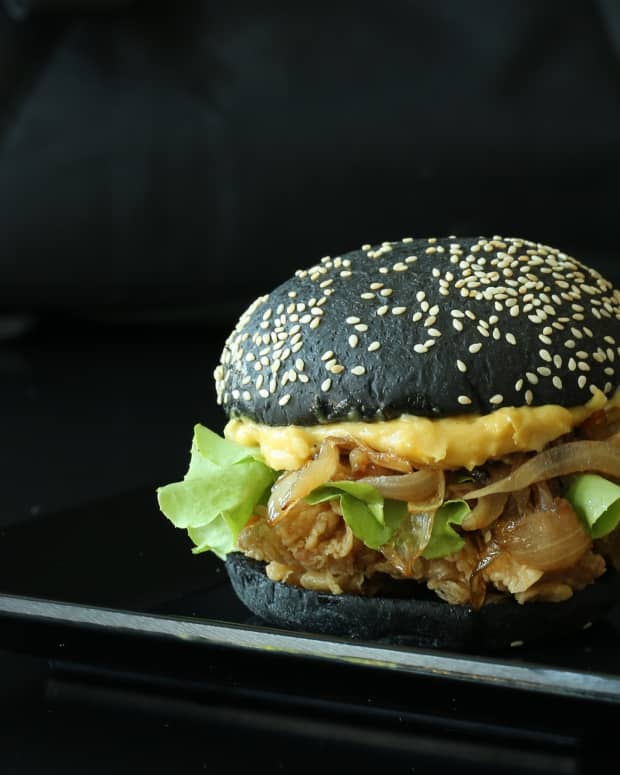
As the flavour can be a bit bland, I was delighted to come across hummus with caramelised onion as an additional flavouring in a supermarket. This recipe is my homemade version. To my mind and taste buds, it gives an attractive richness to an otherwise fairly bland-tasting side dish, especially with the optional addition of a sprinkling of ground chilli seeds.
Rate This Recipe
Cook Time Using Dried Chickpeas (Excluding Soaking Time)
| Prep time | Cook time | Ready in | Yields |
|---|---|---|---|
10 min | 1 hour 30 min | 1 hour 40 min | 6-8 servings |
Cook Time Using Tinned Chickpeas
If you use tinned chickpeas, you'll save a lot of time because there's no soaking or cooking required.
Prep time: 10 min Cook time: 10 min Ready in: 20 min
Equipment
- Blender
- Chopping board
- Kitchen knife
- Saucepan
- Frying pan
- Wooden spoon
Ingredients
Main Ingredients:
- 2 cups cooked dried chickpeas (or 1 can of tinned chickpeas)
- 2 tablespoons tahini
- 1/2 lemon, juiced
- 1 teaspoon dried coriander or parsley (or a small handful of fresh)
- 1 large onion, chopped into small pieces
- 2 cloves garlic
- 2 tablespoons olive oil
Optional Ingredients:
- Salt to taste
- Sprinkling of ground chilli seeds
- 1 teaspoon brown sugar
Instructions
- If using dried chickpeas: Wash them and then soak them overnight in a saucepan of cold water. Make sure there is plenty of water to cover them, as they will absorb much of the liquid and swell up. Wash them again after soaking. Then boil them gently for about 90 minutes in plenty of fresh water to allow for evaporation.
- If using canned chickpeas: Drain off the liquid. They don't need additional cooking as they are already cooked.
- Reserve a little of the liquid whether from the home-cooked chickpeas or the canned ones to add to the blender mixture.
- Chop the onions into small pieces and fry them in a pan on a low heat with the olive oil, brown sugar and garlic. Stir the mixture so that the onions don't crisp up; they should turn soft and translucent after about 5 minutes.
- Put the chickpeas and fried onions in a blender or liquidizer together with two tablespoons of the reserved liquid and blend to a smooth paste. Then add the rest of the ingredients and blend them in until the mixture is as smooth as you want it (see below for more detail).
- Remove the mixture from the blender and put it in an appropriate container for storage or immediate use.
Photo Guide


I Use My Slimline Ninja Blender for This Recipe
My Slimline Ninja blender works well and, being slim, doesn't hog much space on the kitchen counter. The mug has an additional screw-top lid, so can be used to store the liquidised mixture after blending.
As well as making drinks and blending food, I also use it to grind and blend food waste which I then dilute and spread around plants in the garden as a mulch. This puts all the nutrients back in the soil . . . just try banana skins blended and dug into the soil around your rose bushes—they'll thank you with abundant flowers.
Accompaniments to Hummus
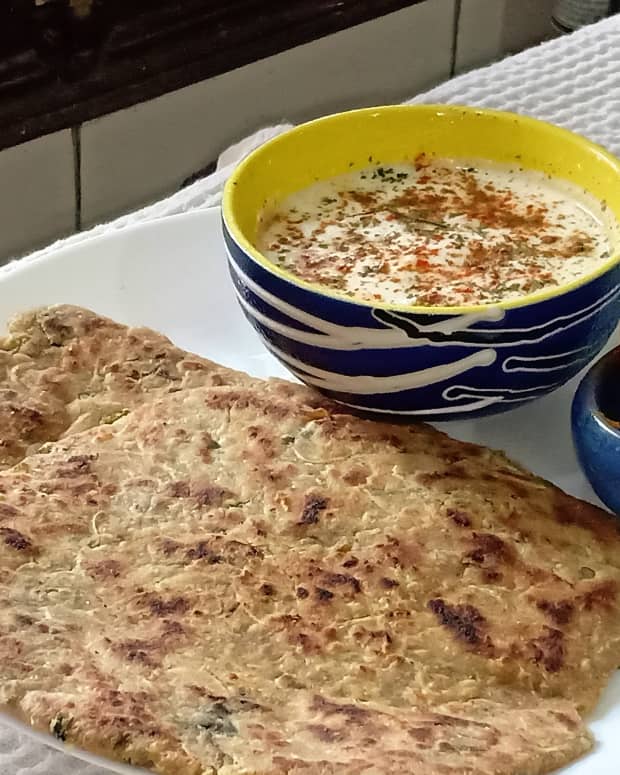
Hummus is traditionally eaten with pitta bread as a snack or side dish. It is also used with salad or as a dip with vegetables, such as carrot sticks.
At my local Kurdish restaurant in London, if you order lamb kebab for lunch, it comes with an enormous salad, with a big dollop of hummus in the middle, and a side-plate with fresh pitta bread. It's actually enough for two meals, and I'm not too proud to take some of it home in a doggy box if my appetite has been spoiled by a late breakfast.
More About Hummus
Short Quiz About Hummus
For each question, choose the best answer. The answer key is below.
- What is Tahini made from?
- Sesame seeds
- Couscous
- Olive paste
- Where did hummus originate?
- Europe
- The Middle East
- East Africa
- What is the traditional accompaniment to hummus?
- Tortilla wraps
- Naan bread
- Pitta bread
Answer Key
- Sesame seeds
- The Middle East
- Pitta bread
Commercially Made Hummus
© 2019 Diana Grant
Do Leave Your Comments, Suggestions or Questions Here
Diana Grant (author) from United Kingdom on July 16, 2019:
I must say, I use crushed red pepper flakes on nearly all food except sweet things - love it
Diana Grant (author) from United Kingdom on July 16, 2019:
You can actually buy caramelised houmous, but only a few supermarkets stock it
Diana Grant (author) from United Kingdom on July 16, 2019:
I love it, so hope you do try it
Diana Grant (author) from United Kingdom on July 16, 2019:
Yes the blades on my blender clean easily, and then there is a separate lid without blades to store the contents
Peggy Woods from Houston, Texas on July 11, 2019:
We keep hummus in our home much like a staple. Costco is where we purchase it because it is priced well. I add crushed red pepper flakes to it to spice it up a bit. Your idea of adding caramelized onions and garlic to it sounds good to me. Thanks for your recipe.
Linda Crampton from British Columbia, Canada on June 23, 2019:
I buy hummus at my local supermarket and enjoy it, but your version sounds much nicer. I like the idea of adding caramelized onions very much.
Mary Norton from Ontario, Canada on June 23, 2019:
I still have to try hummus with caramelized onions. Thanks for the instruction.
Mary Wickison from Brazil on June 21, 2019:
I enjoy hummus but don't make it very often. I can see that the caramelized onions would would give it more flavor.
I didn't quite understand how that blender worked without a lid, so went to YouTube to see. That seems to be a good idea because the blades would be easier to clean. My blender doesn't easily come apart making cleaning difficult.

